How to Generate Your OpenAI API Key
How to Generate OpenAI API Key
This guide provides easy-to-follow instructions on how to create, manage, and secure your OpenAI API key. By the end of this tutorial, you'll be able to generate and safely store your API key for seamless integration.
Step-by-Step Instructions
-
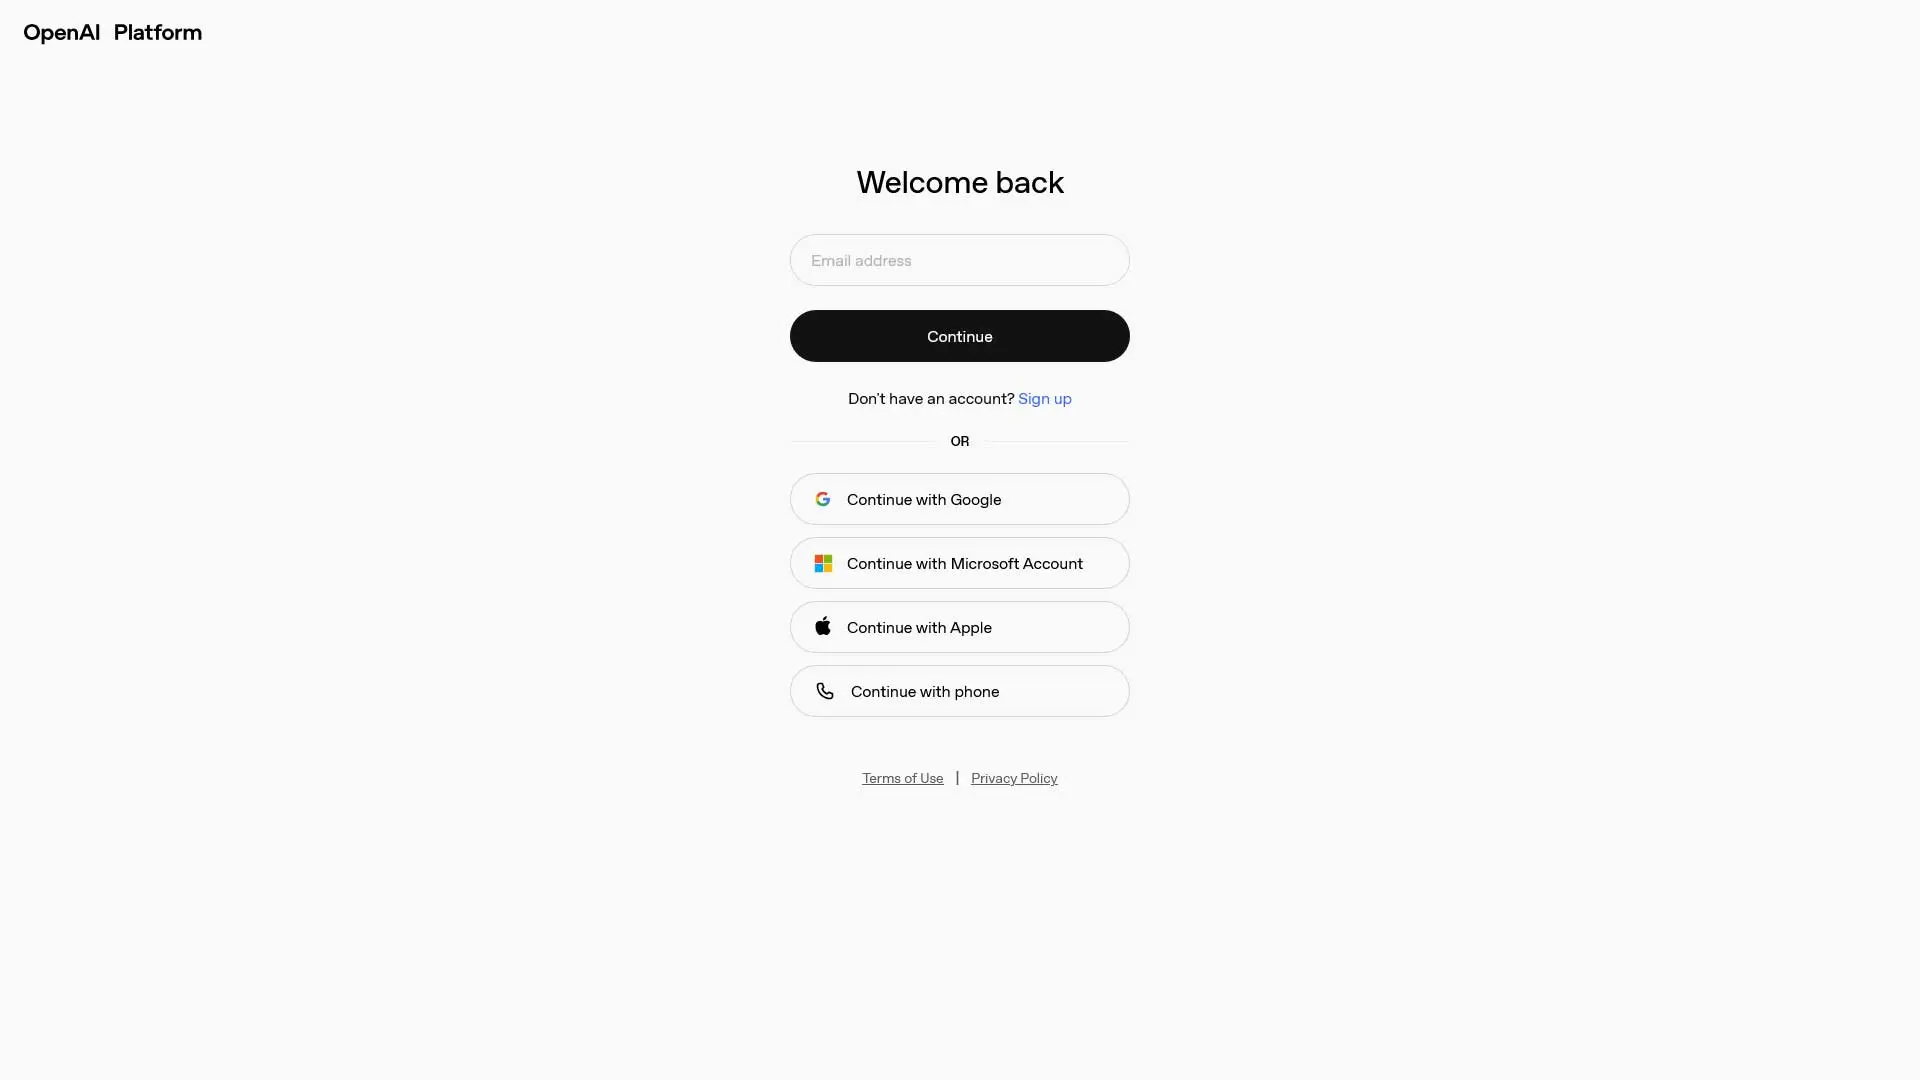
Log in to OpenAI: Visit the OpenAI platform page (https://platform.openai.com). If you're already a user, click on 'Log in'. If you're new to OpenAI, click on 'Sign Up' and follow the prompts to create your account.
- Sign In Via Google or Manually:
After navigating to the login page, choose to sign in with your Google account for quicker access, or log in manually by entering your credentials.
-
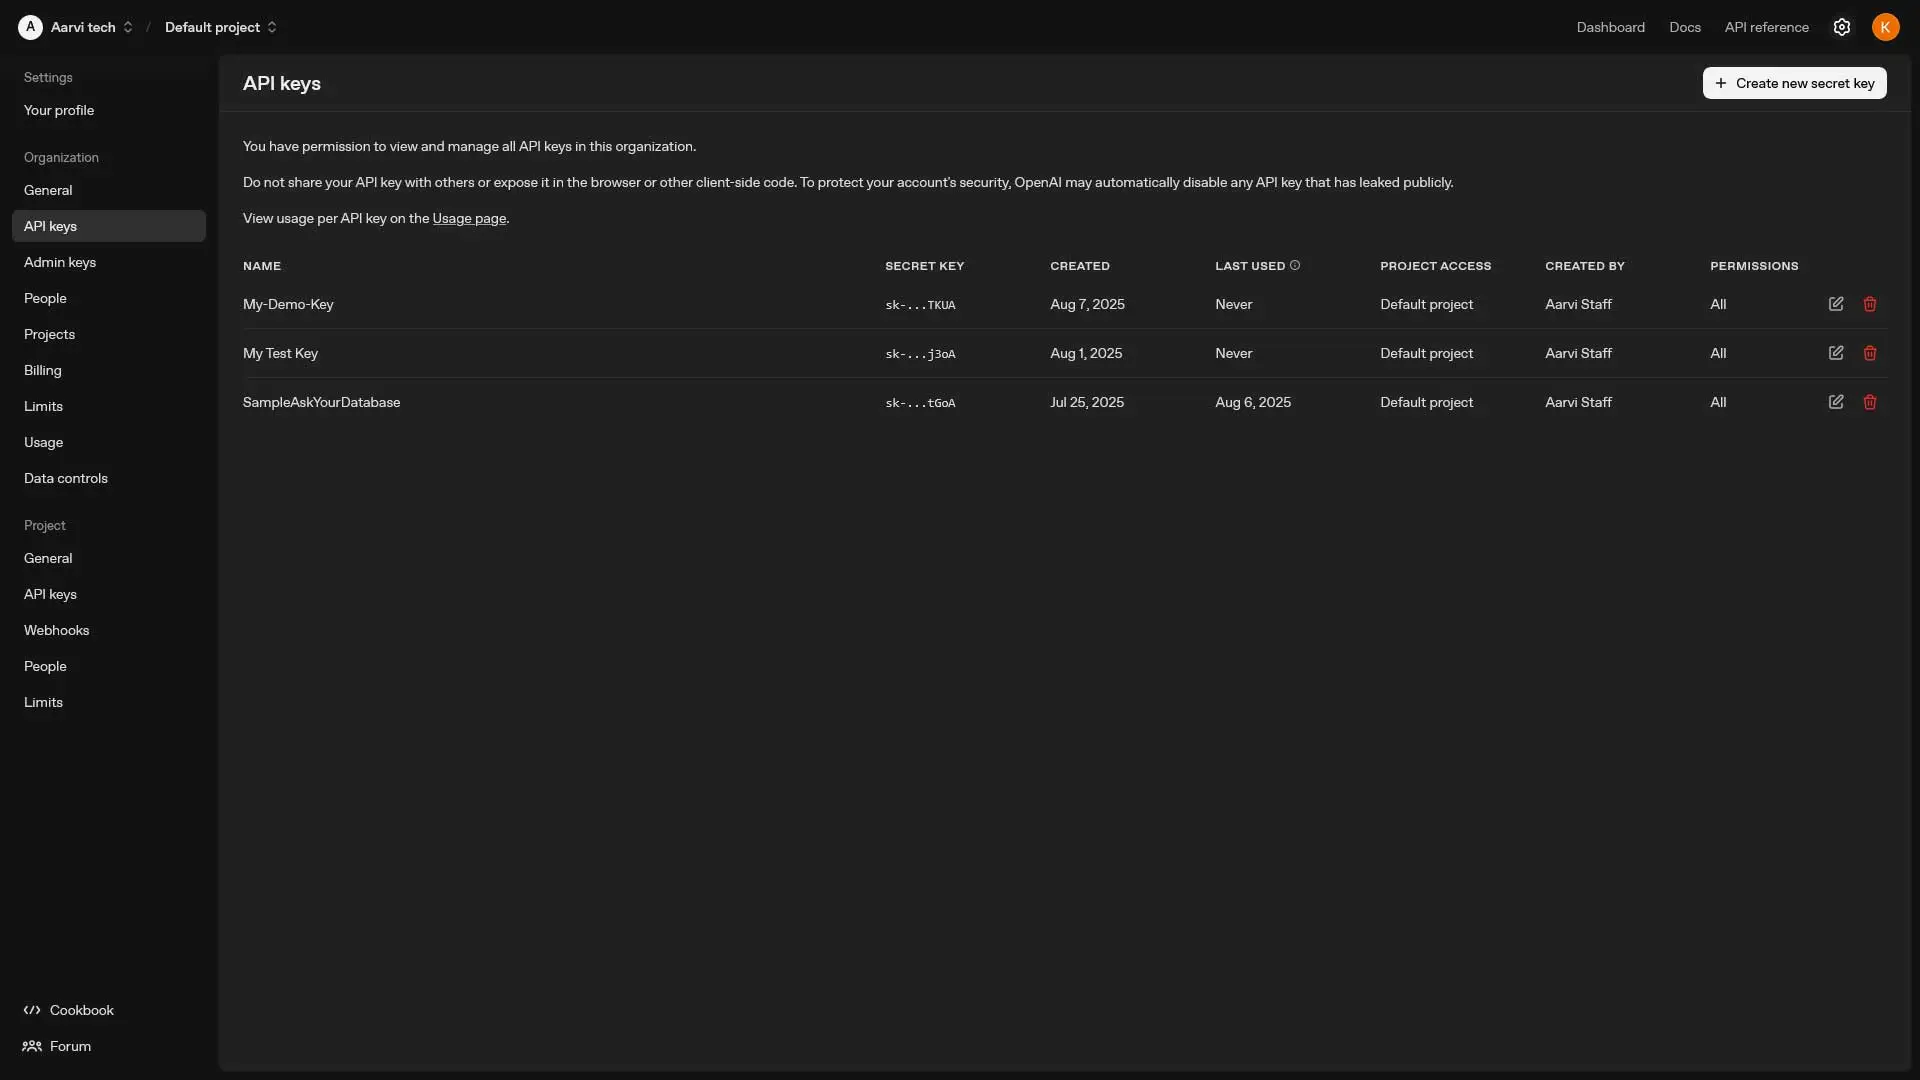
Navigate to the API Management Dashboard: Once logged in, you will be redirected to the OpenAI API management dashboard. If not, manually visit https://platform.openai.com to access it.
-
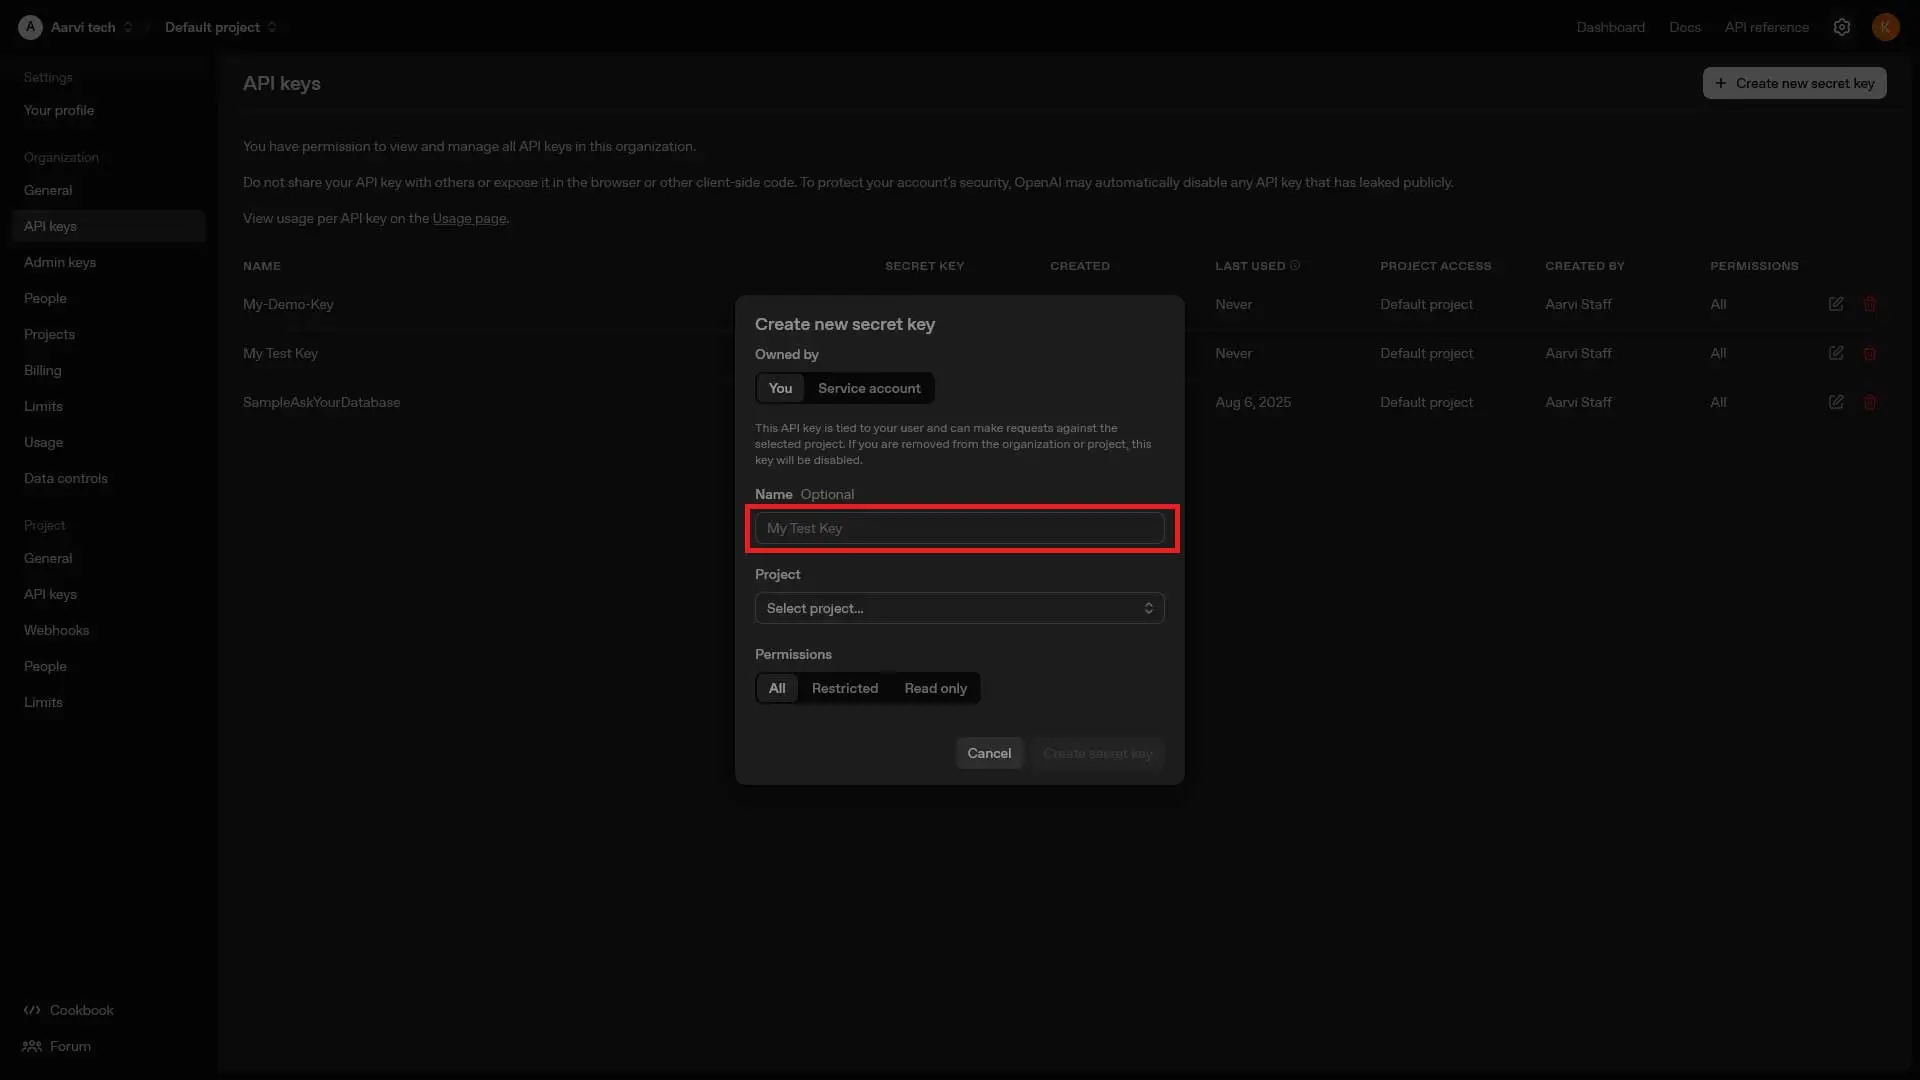
Create a New API Key: In the dashboard, find and select the option to 'Create new API key'. This will start the process of generating your API key.
-
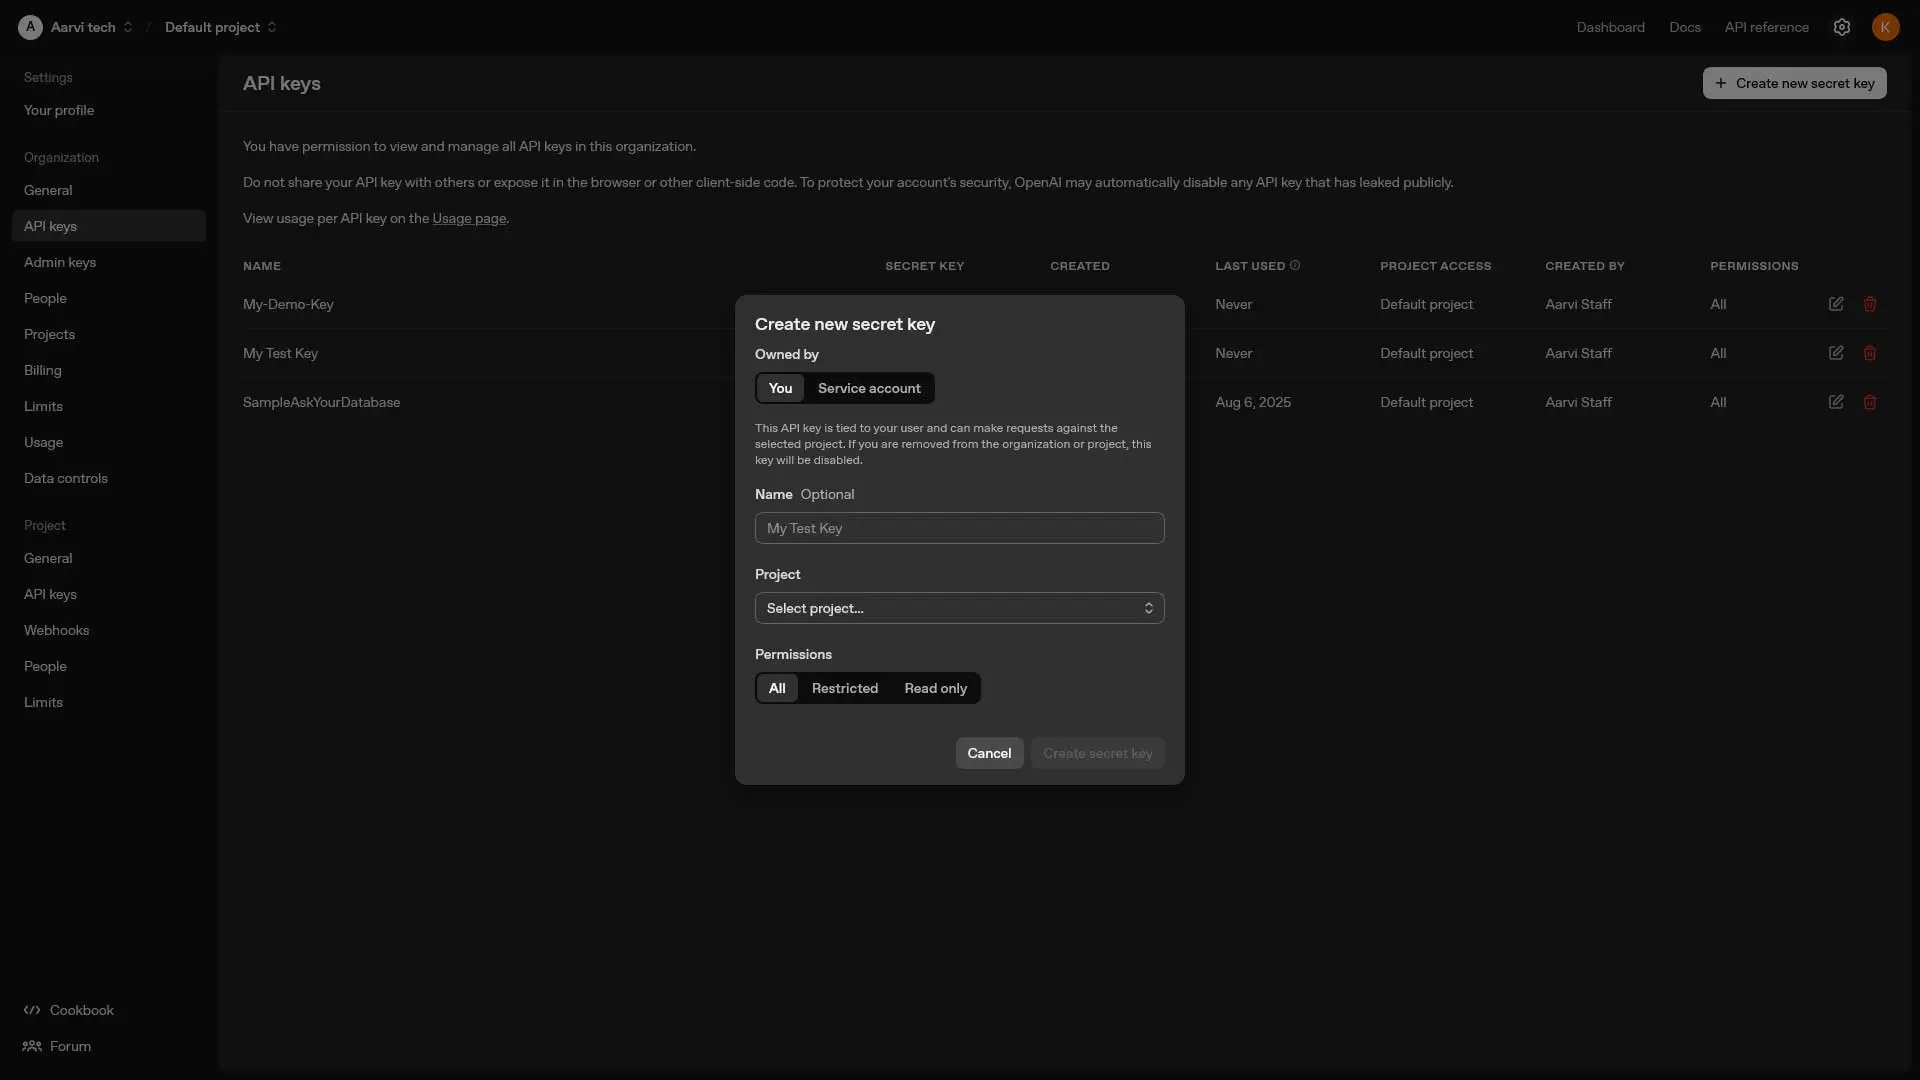
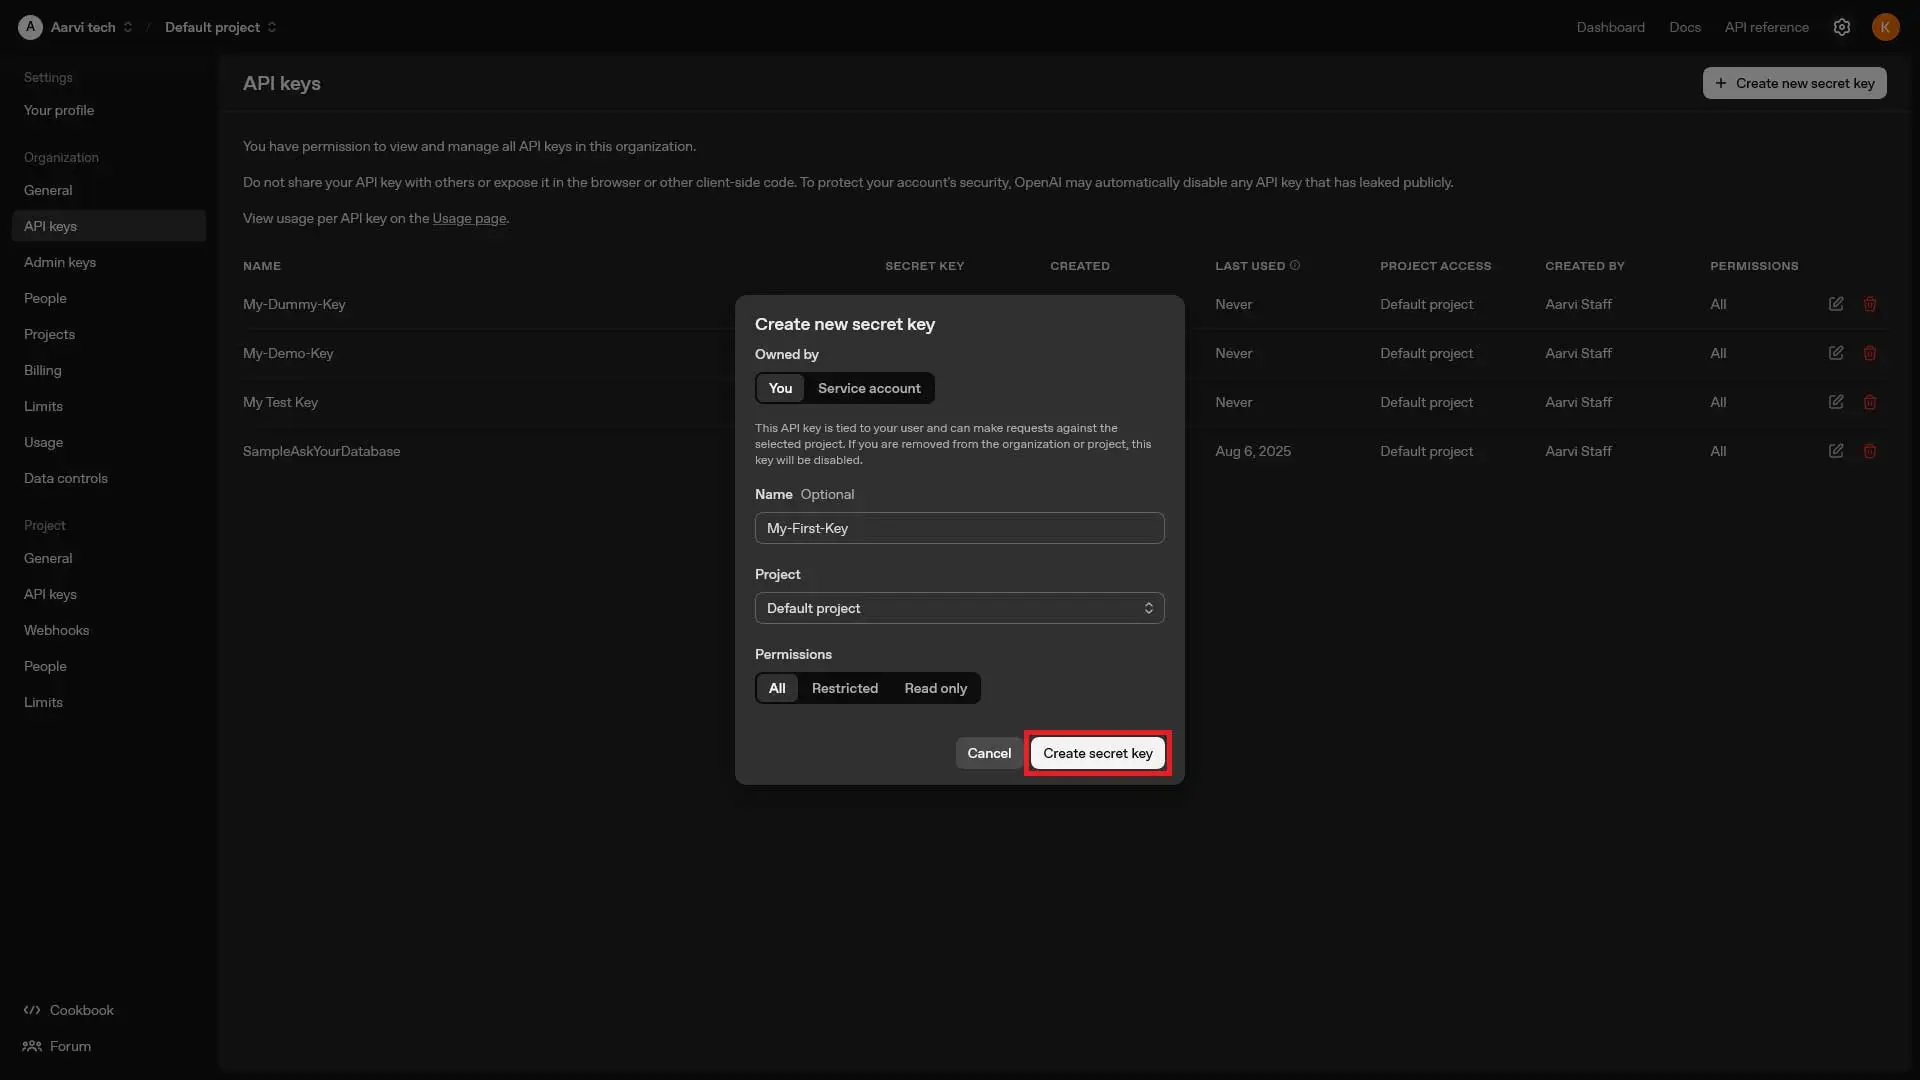
Name Your API Key: Provide a descriptive name for your API key. This name will help you identify the key's purpose later.
-
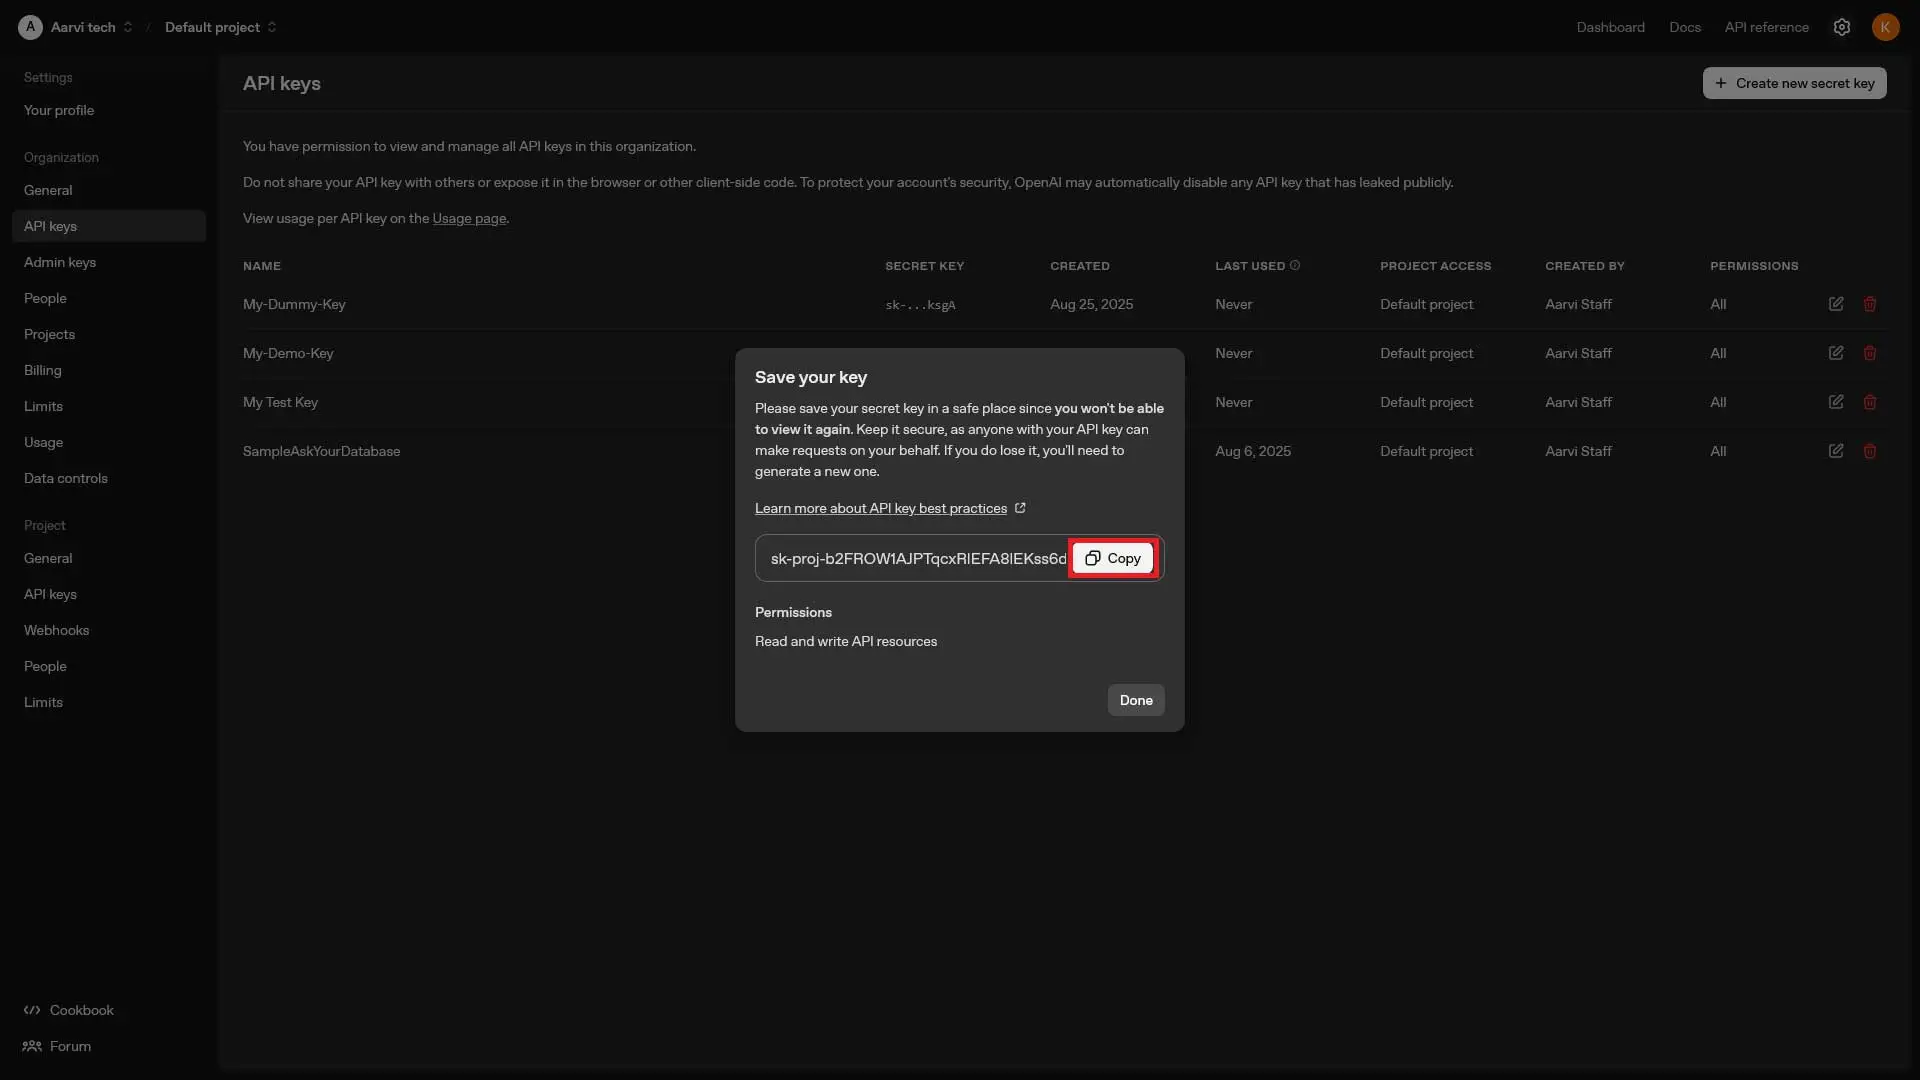
Generate the API Key: After naming your key, click 'Create secret key' to finalize the key generation process. Once created, you will see your API key details. Copy and store it in a secure place, as this key is confidential.
-
Security Best Practices: Keep your API key secret. Never expose it in browser URLs or public client-side code. Follow OpenAI’s security guidelines to protect your account. This is crucial to avoid unauthorized access to your API.
-
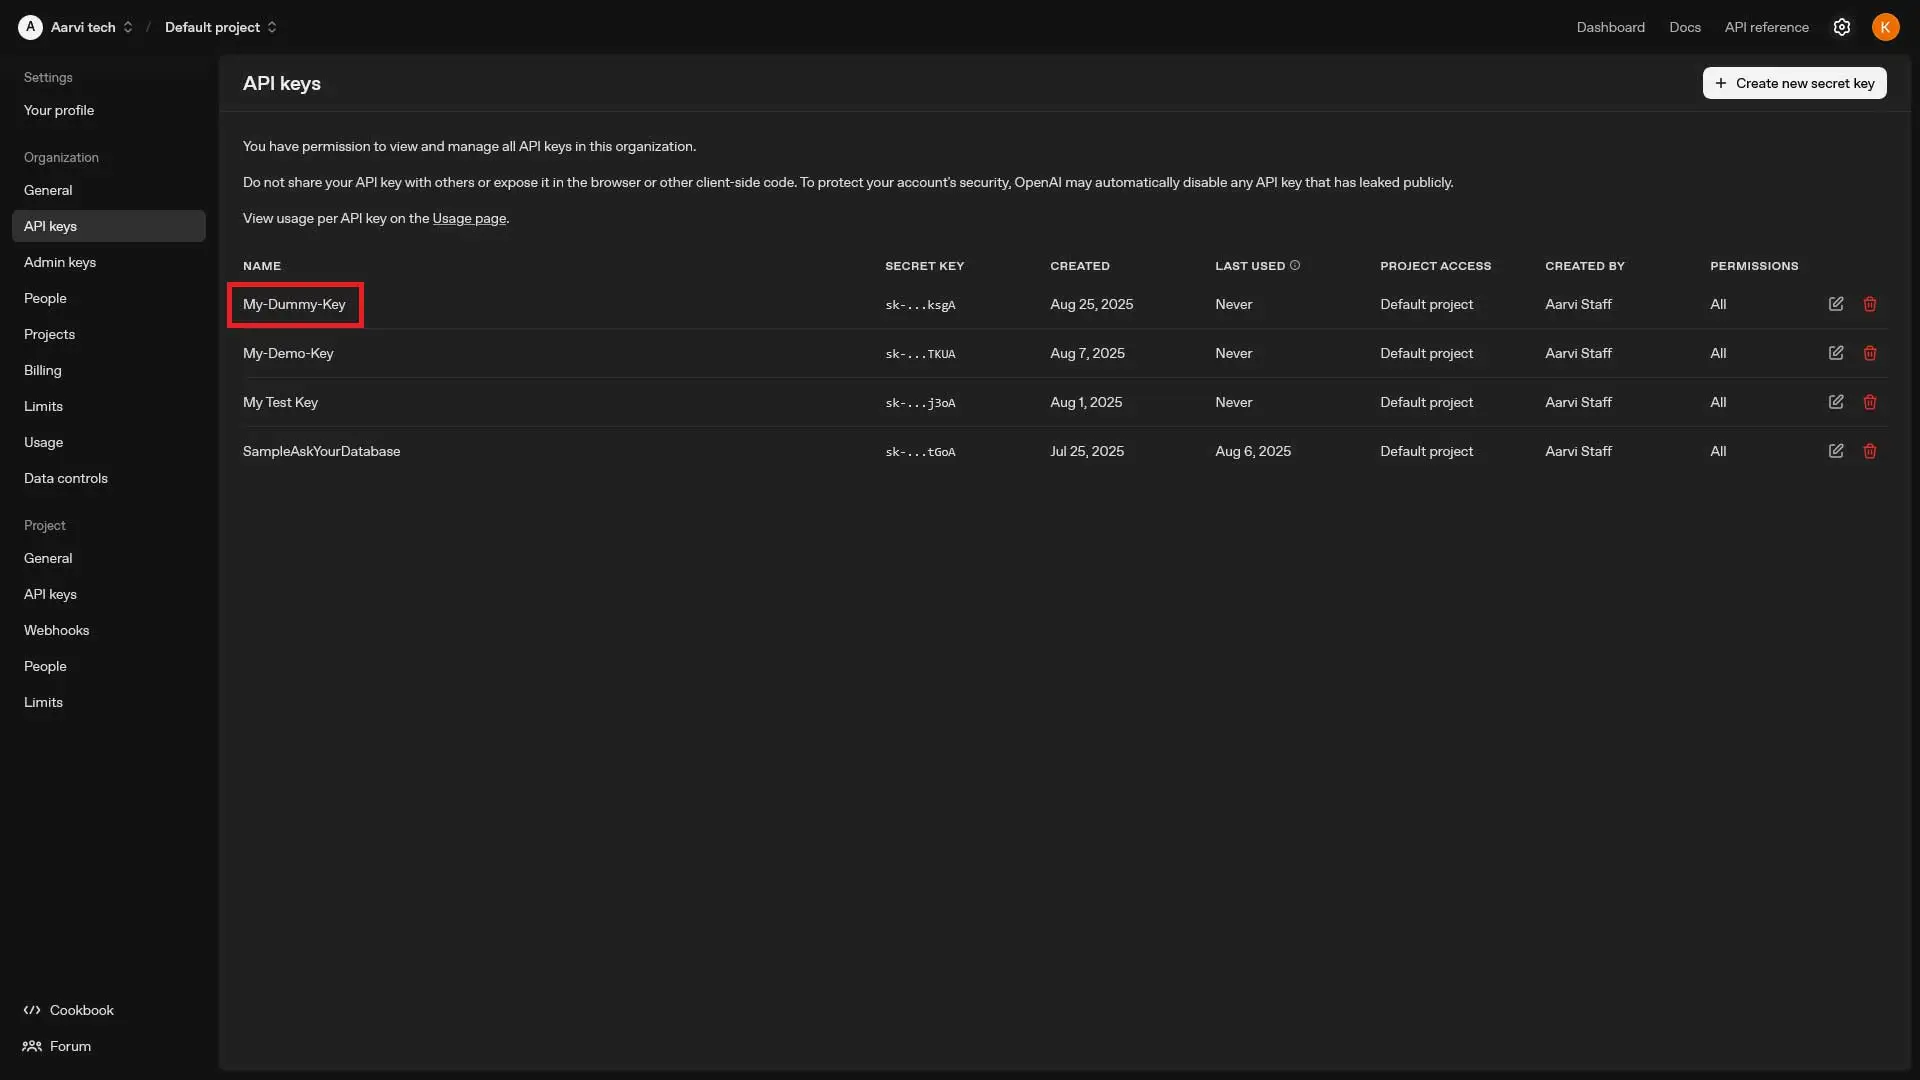
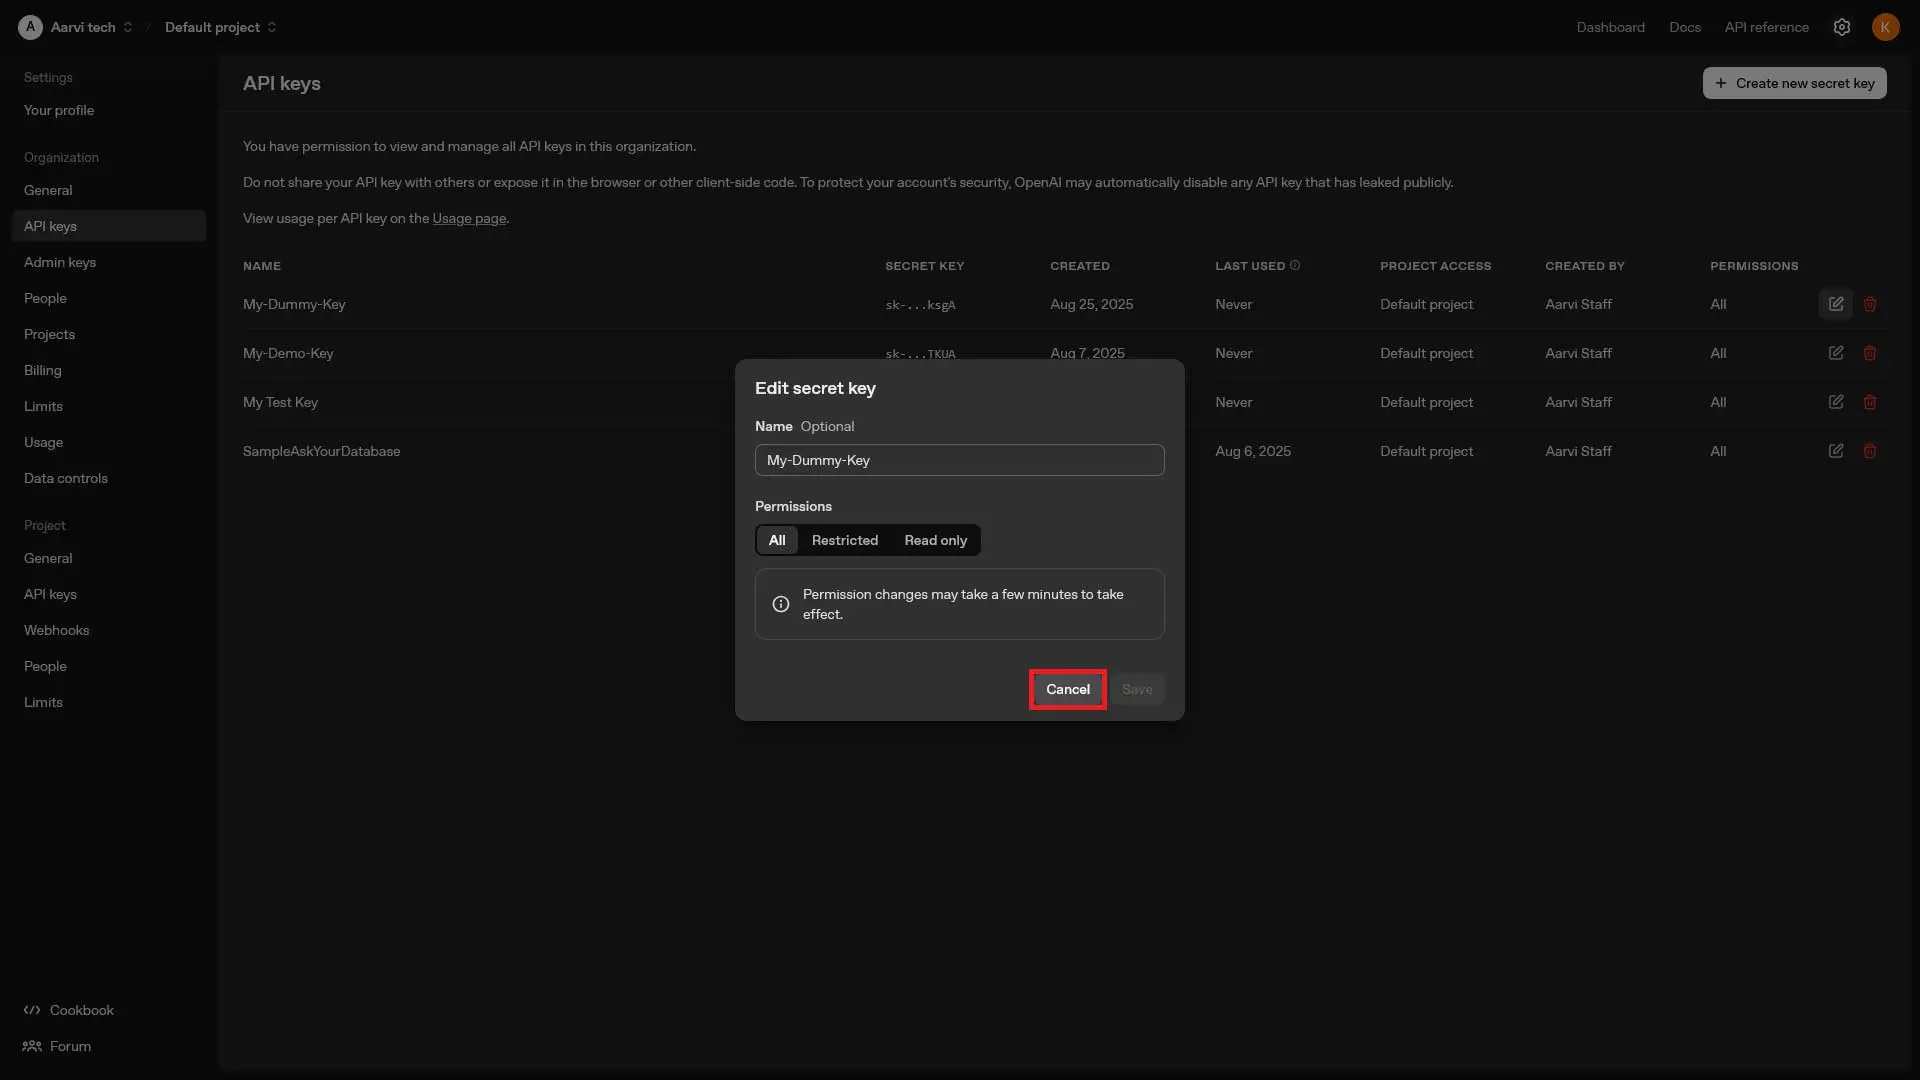
Manage Your API Keys: You can view and manage all your API keys by selecting 'All' in the API management section. To modify or review existing keys, simply click on the relevant key.
-
Cancel or Exit: If you need to cancel any changes, you can click 'Cancel' to safely exit without saving changes.
Security Notice
Remember, never share your API key with others, as it gives access to your OpenAI account. Store your key securely and follow best practices to keep your data safe.
This guide will help you get started with your OpenAI integration and manage your keys efficiently. If you have any questions or need further assistance, feel free to reach out to our support team.
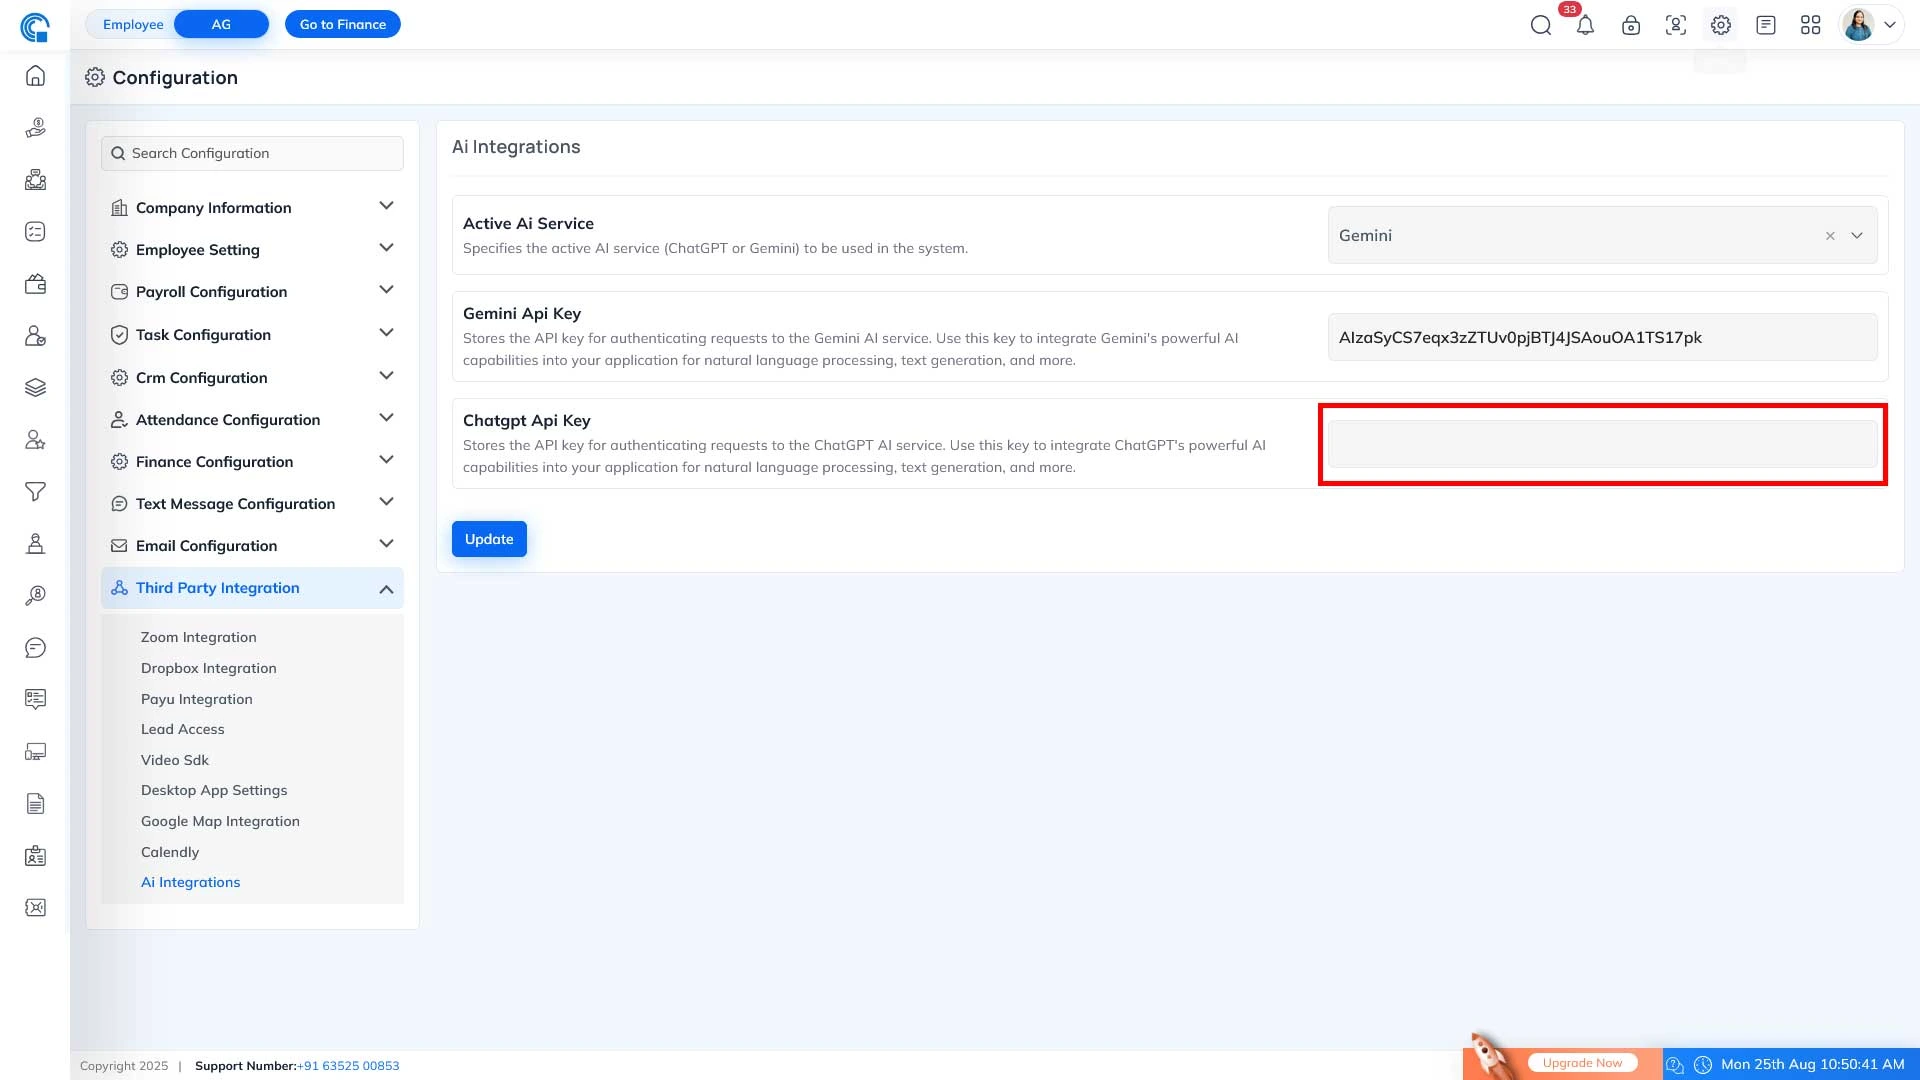
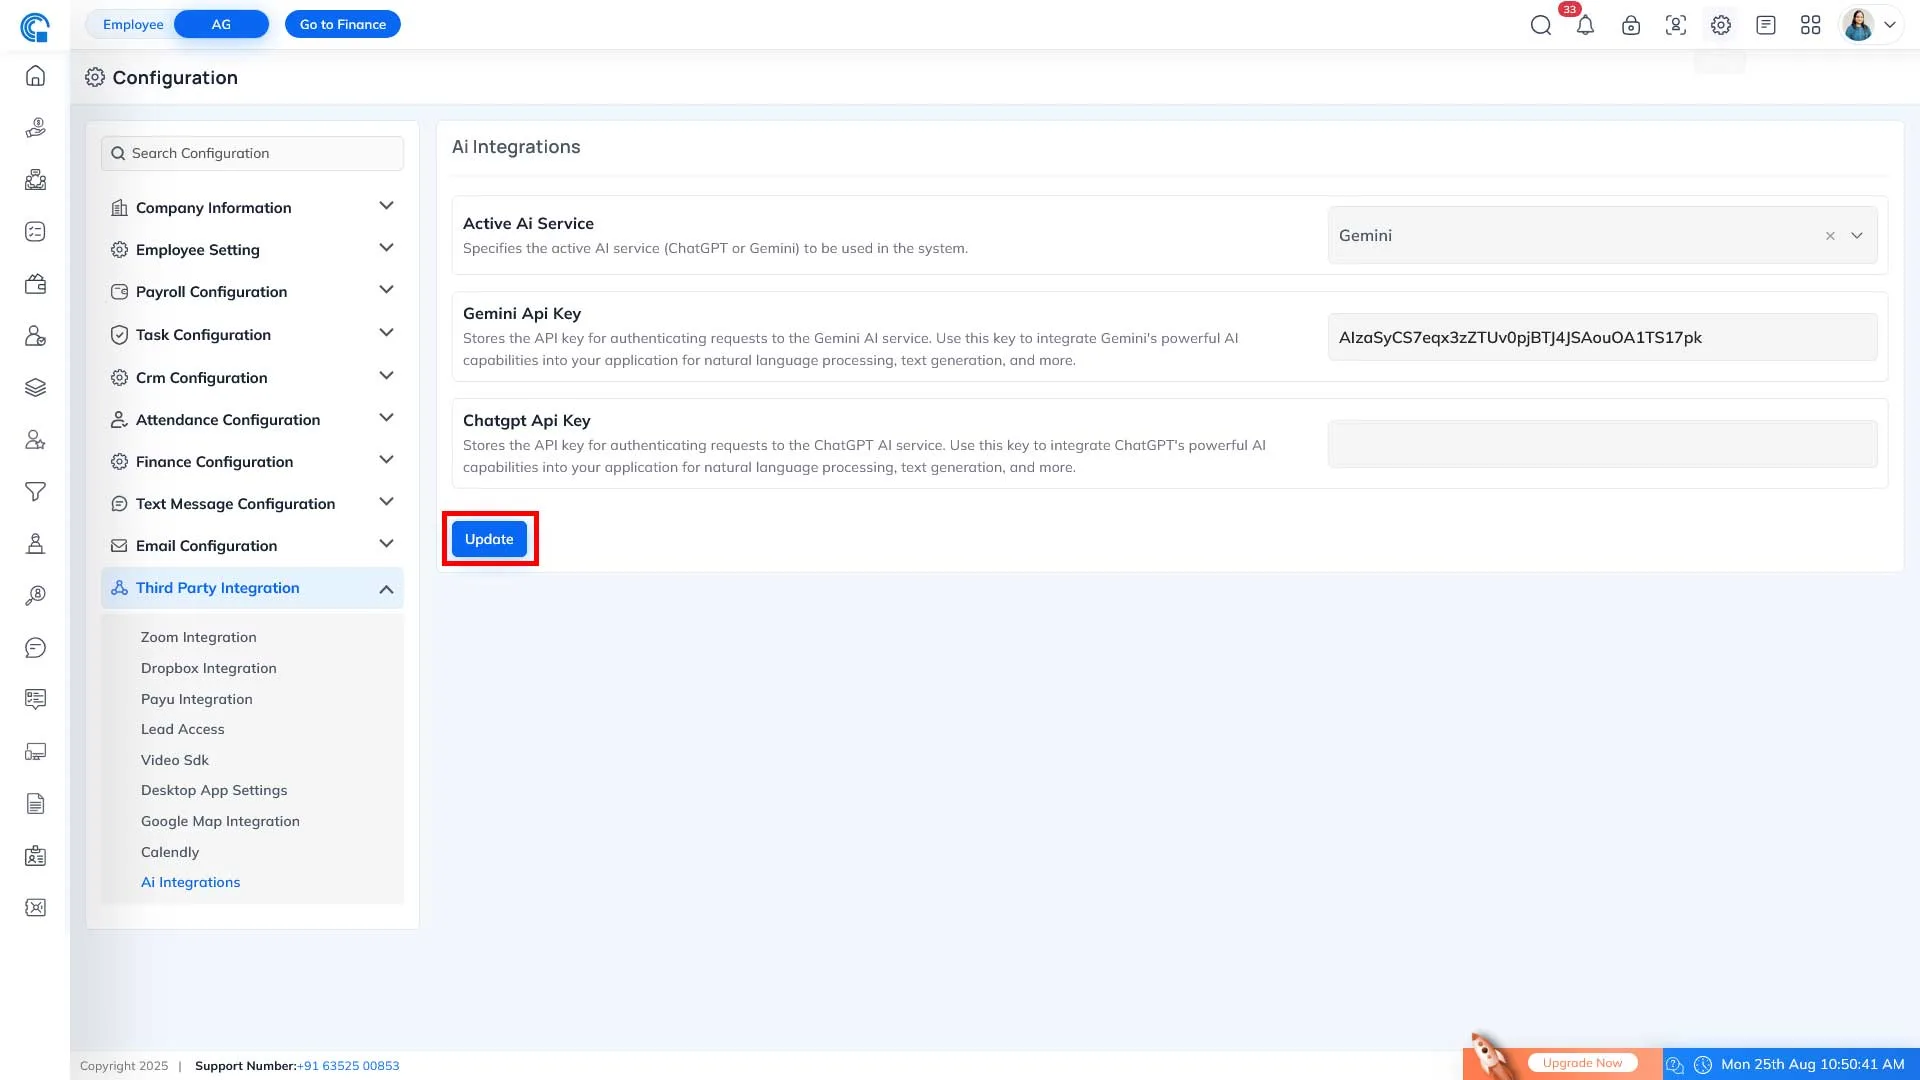
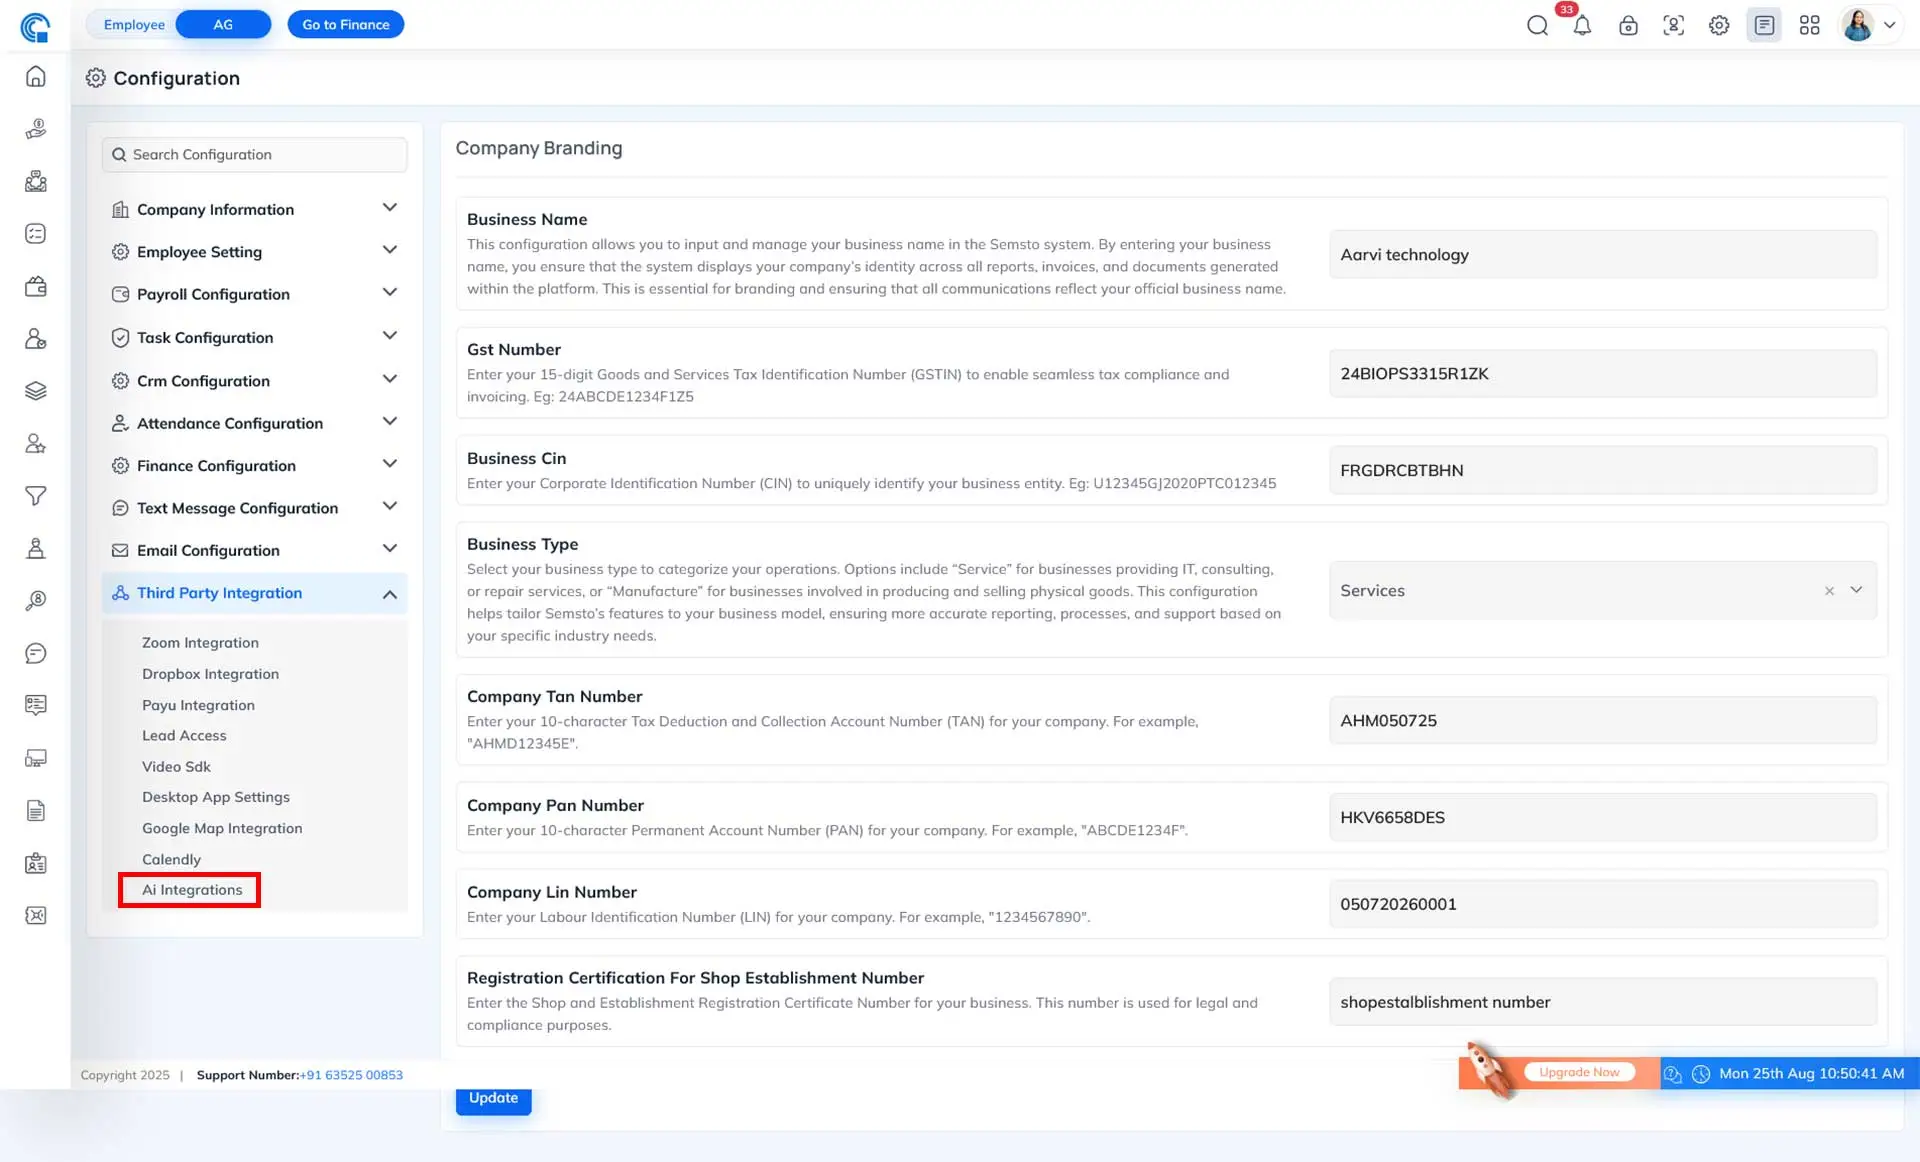
How To Add This Key in Semsto
Go To semsto.com > Setting > Configuration > Third Party Integration > AI Integrations >
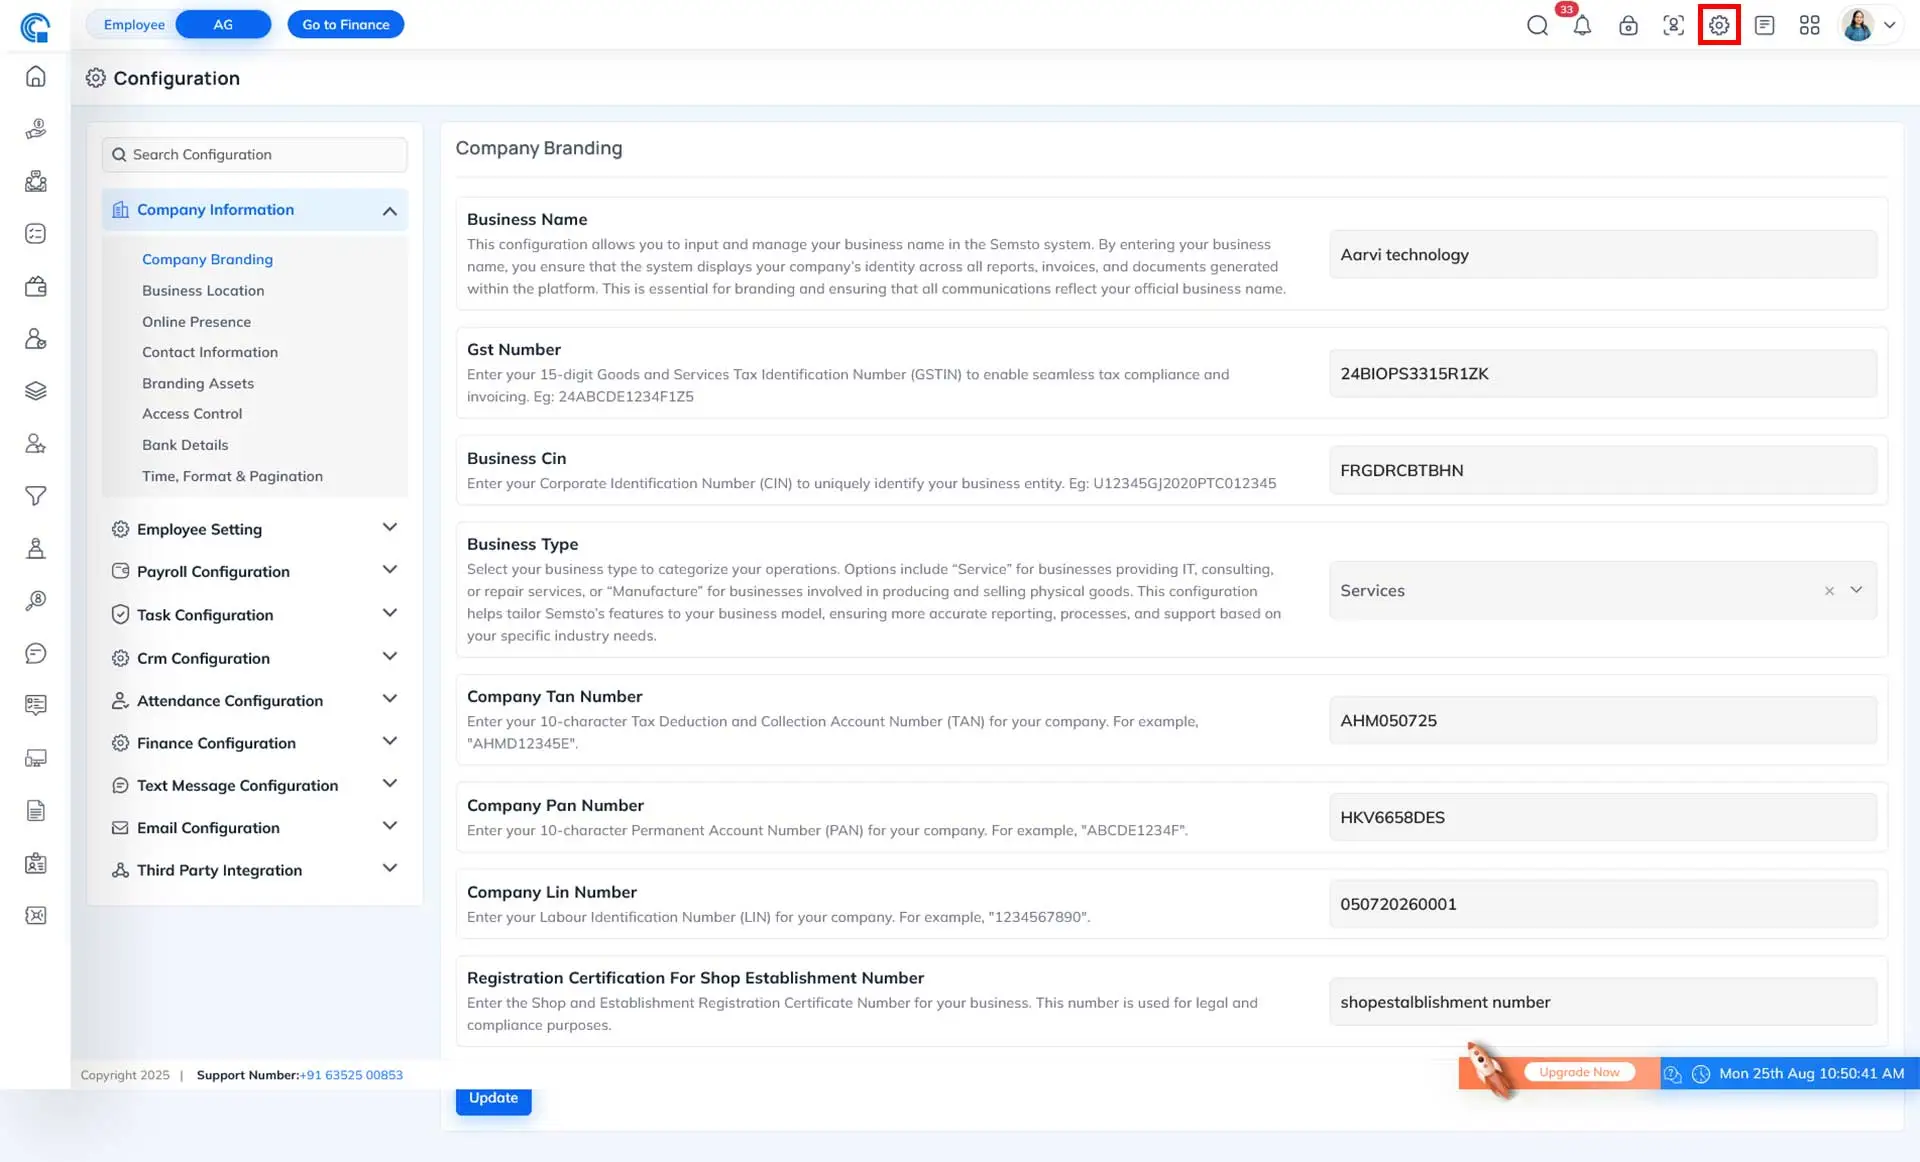
AI Integrations > Chatgpt >
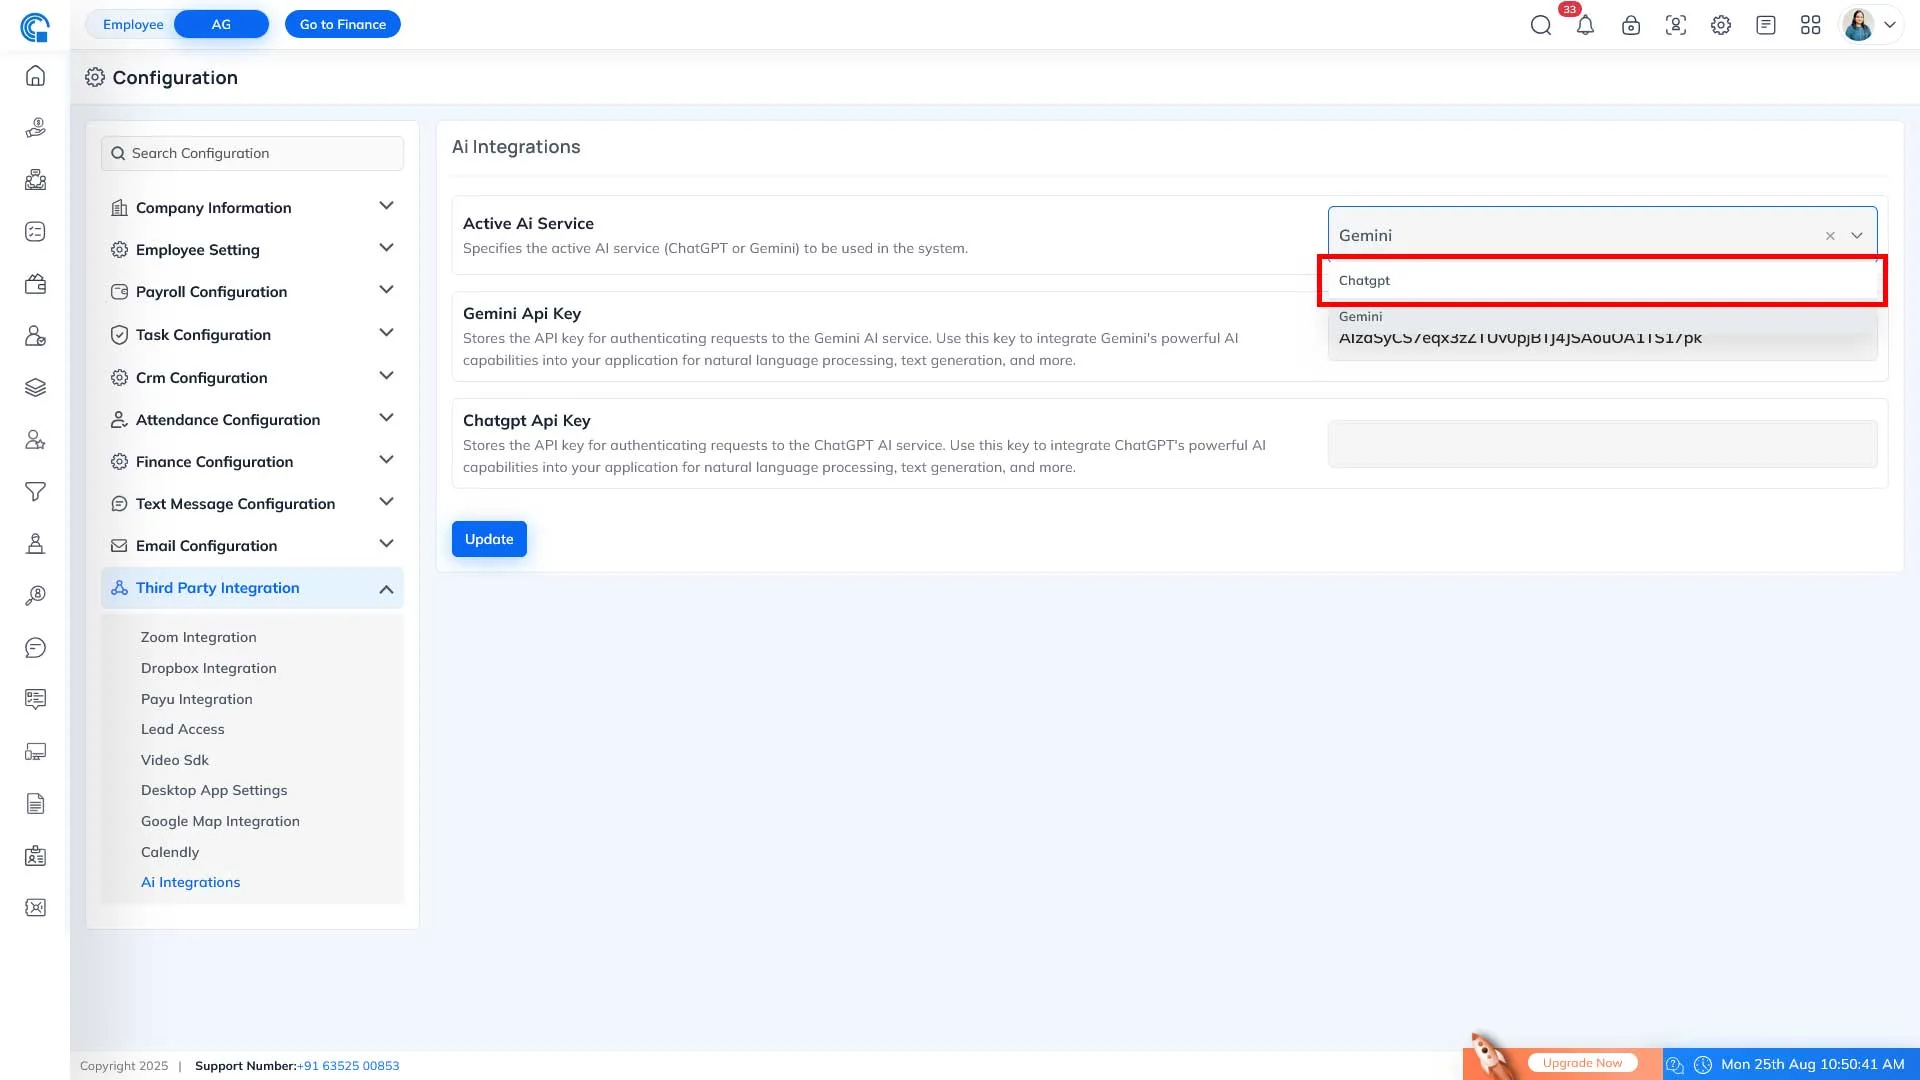
AI Integrations > Chatgpt > Chatgpt API Key > Update
Stores the API key for authenticating requests to the ChatGPT AI service. Use this key to integrate ChatGPT's powerful AI capabilities into your application for natural language processing, text generation, and more.